Making A Chain Mail Coif
How to make a chainmail coif.

Constructing mail weave around a body is quite different from sewing clothes because the mail doesn’t have to be assembled from plain pieces. It can easily be built in spherical shapes as plate armour can. Thus the task of constructing mail garments has got more in common with knitting than sewing. If you forget about the concept of sewing patterns, you can make mail armour, that fits closer and saves weight. Everything, that seems to be difficult about this, can be solved by intuition and simple calculations. I will explain this further with a mail coif as an example:
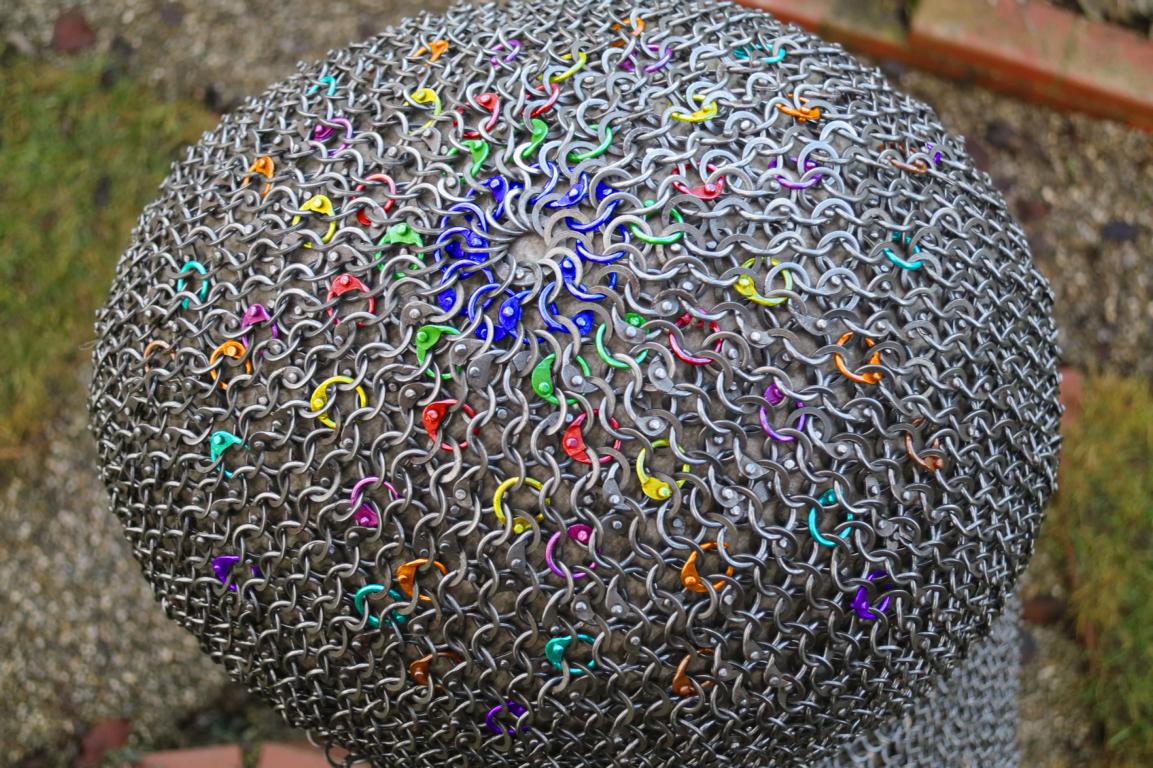
Topview onto mail coif. Rings holding five neighbours have been colored afterwards.
The first step is to cover a hemisphere with mail weave, starting with a single ring right on top. This ring gets connected with others and the weave is then continued in horizontal rows of rings until the equator is reached. Each row has to contain more rings than it’s neighbour above. Therefore some rings have to hold ´ive other rings and in the next row, some rings have to be connected to just three others. I call a pair of each an expansion. Each expansion adds one ring to a row. The challenge for a mail maker is to put the right amount of expansions in the right positions to shape the mail weave as intended. So you start building a small plain circle. According to the formula for the circumference of a
When the
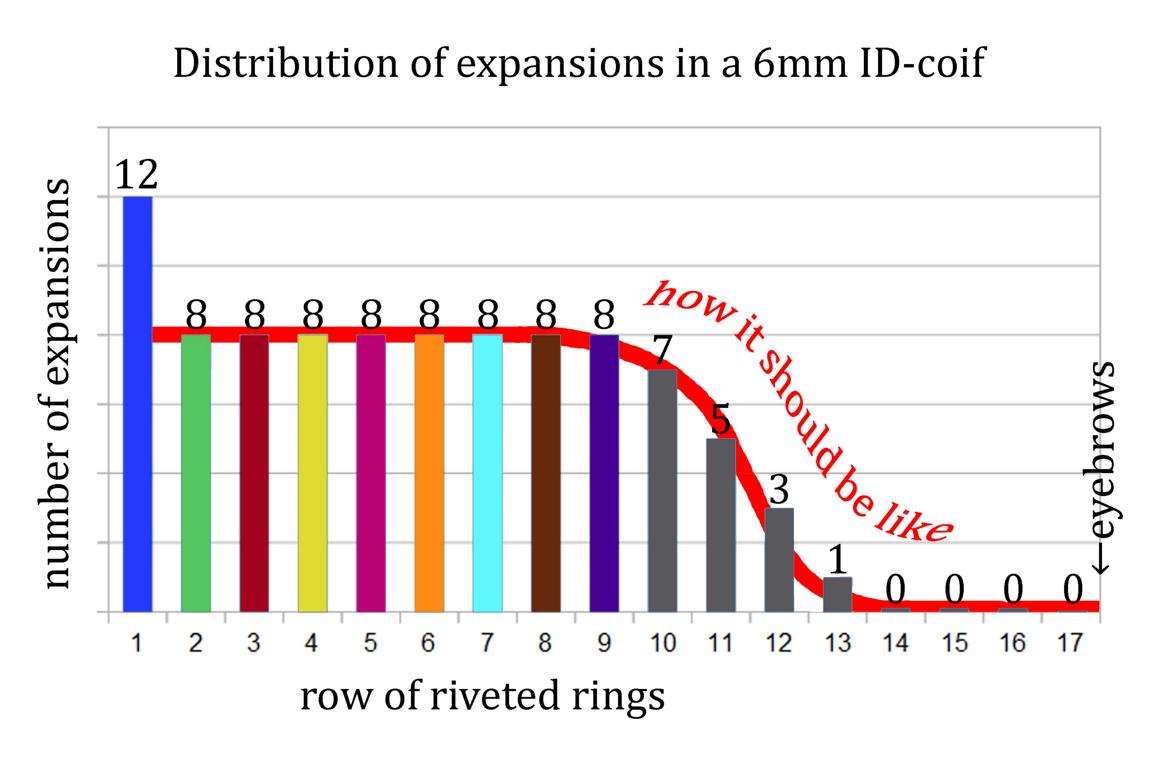
Use the band and the circle-shaped piece of mail to estimate, how many rows fit in the distance from top to the equator. Once you know this and the number of expansions, that still have to be set, you can think about their distribution. I distribute them with intuition like shown in the graph. The expansion ring should keep a constant distance to each other within a row and in-between rows. So it won’t look like a seam. However, sometimes it is intended to look like a seam.
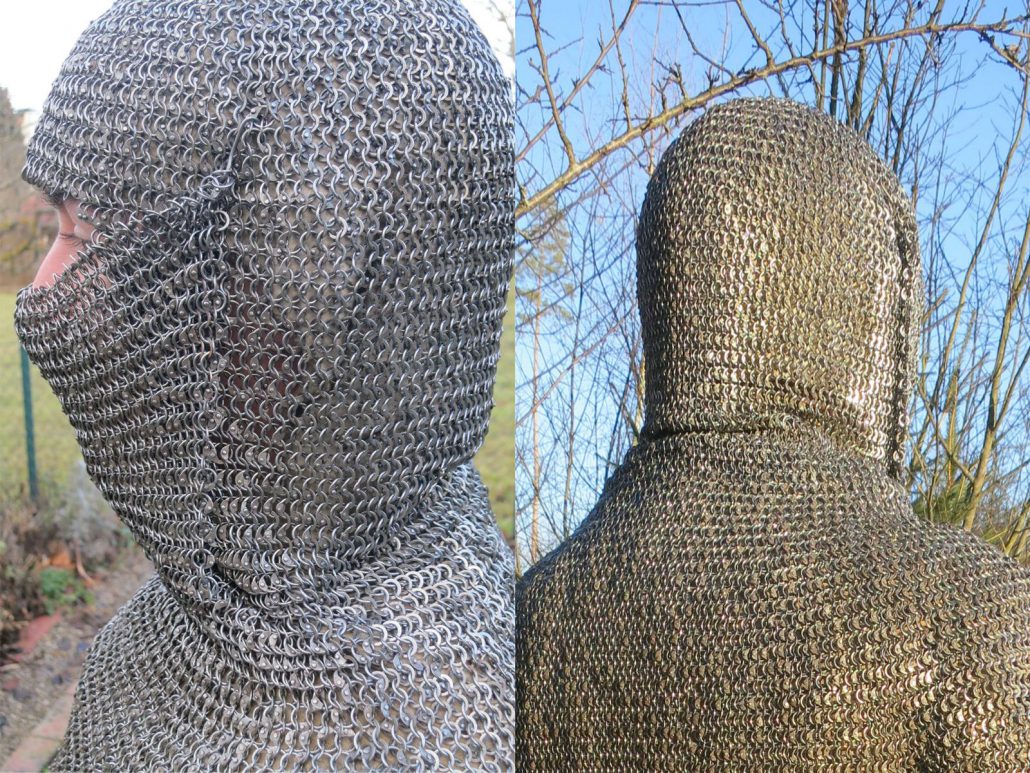
At the forehead, you can connect the band to the weave and add more rows without expansions. Of course, you spare space for the face. You can attach the coif to the mail shirt or make a coif that can be completely taken off. In both
* Remark: A band with a width of one row is longer than a band with a width of more rows, while both have the same number of rings per row!
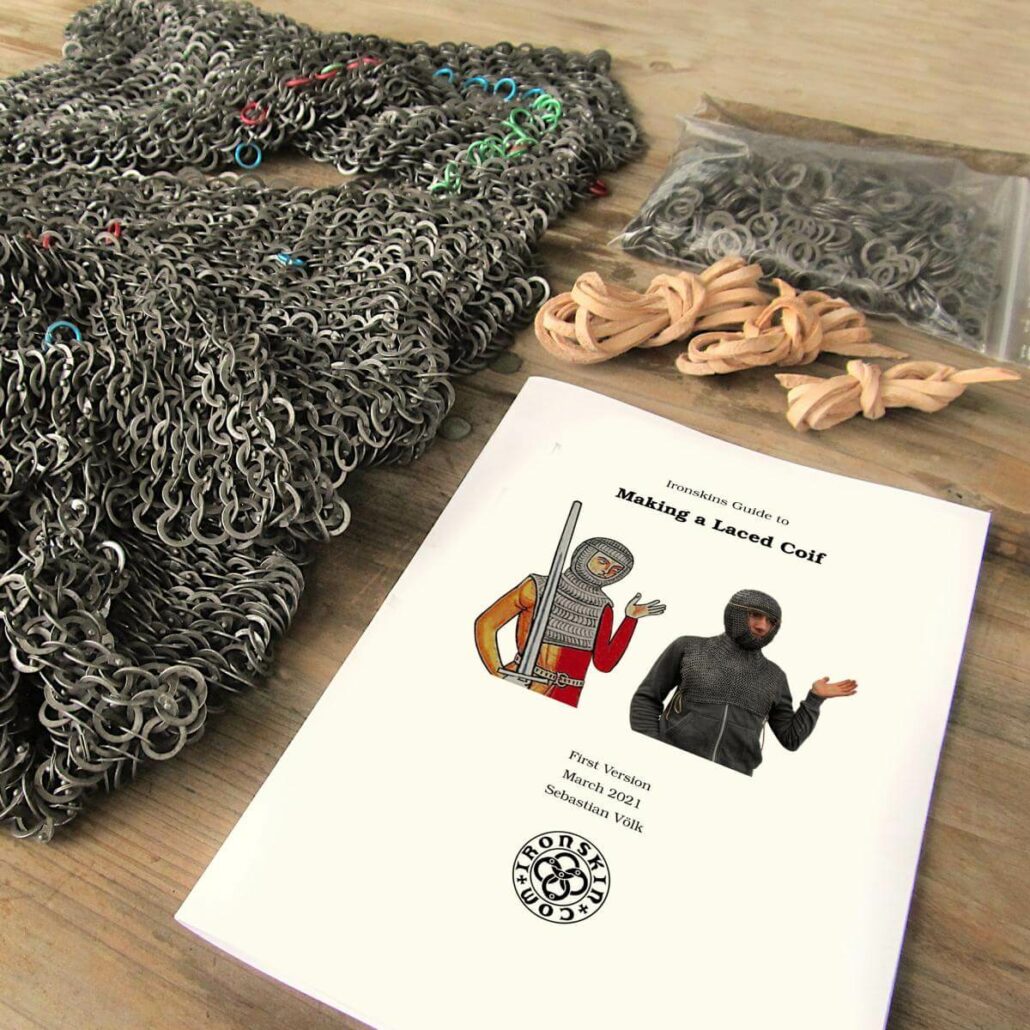
Update: This (older) article mainly covers the top part of a mail coif. Now there is more to learn about the face and neck areas. The full PDF tutorial gives you patterns at hand for every step. So you have it easier to follow the 30 pages of instructions. You can get the advanced PDF tutorial here: